Happenings in the Bee Yard
Before we start talking about my Langstroth hive setup I wanted to update you about some happenings in the bee yard. This week was a dreary, rainy one in western NC.
I had grand plans to plant flowers and listen to the buzzing of the hives while doing so. But, nature had a grander design, so four days of rain-delayed planting largely kept the bees in their hive boxes.
The rains broke on Thursday evening and our beautiful Carolina Blue sky returned. However, my bee inspection provided lots of surprises.
The Nuc
I have worried for two weeks about the lack of foragers in this nuc. For long-term success, I needed to see some pollen arriving at the hive. At the most, I have seen one to two foragers up until Friday! At lunch Friday, I took time to visit the bees and just observe.
When I began observing the nuc, I got a very pleasant surprise. In the space of roughly three minutes, I watched ten foragers land on the bottom board loaded up with full pollen baskets. So, the natural order of progression is beginning to take place in this tiny hive.
I hoped the inspection would reveal a little colony that was starting to grow. As I started the inspection, the bees were up in the top hive feeder drinking sugar water. Of course, there aren’t as many workers in this small colony so it was just a small group but they are using that sugar water to start the process of drawing comb on the empty frames in the nuc. Looking over the frames, I found twice as many eggs and larvae as last week.
The bees have been busy during the honey flow making honey as well as bringing in pollen, something that had been severely lacking up until this week. The queen is as active as ever and is a real Italian beauty. I think this nuc will be ready for installation in a deep hive box in just a few weeks.
The Weaker Hive
Even the weaker hive had plenty of foraging activity. I watched a worker removing dead bees from in front of the hive. It was incredible to watch her pick it up and fly off with it.
After inspecting the nuc, I turned to this hive hoping to find a new queen in the hive. Looking through the frames, I found only a small amount of capped brood left, no larvae, and no eggs! Uh oh!
So I immediately checked the frame with the capped queen cup. The new queen emerged as expected leaving an empty, uncapped queen cup. I examined every frame carefully looking for that queen and as I had expected from the lack of eggs, she was not present. Two queens have emerged and neither one of them made it back to the hive.
With no eggs or larvae to work with, this colony is in trouble.
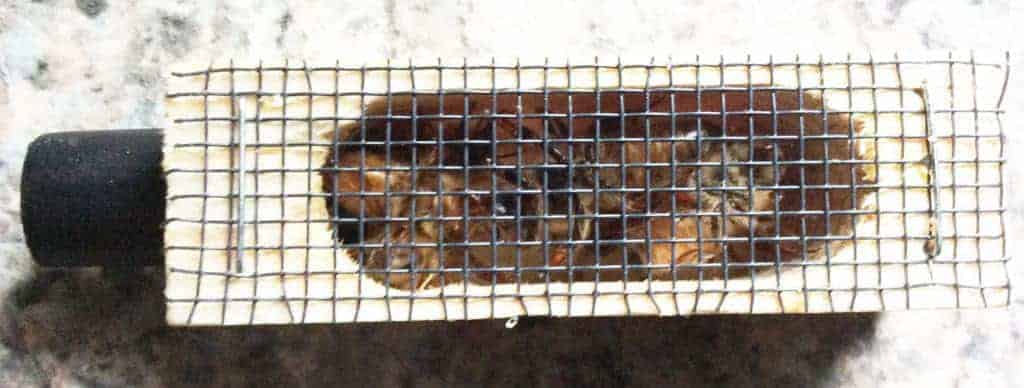
I called Wild Mountain Bees, our local store, to find out if they had queens available. They had Carniolan queens. I made an emergency visit and picked up the new queen. She has all the hallmarks of a Carniolan. Her abdomen is a very dark brown, approaching black.
I punctured the candy with a nail, opening a small hole for the workers to begin eating the candy. The queen’s attendants, caged with her, have been busy eating from the caged end. I pushed the queen cage into some wax in between two frames and shut the hive up. I didn’t expect to be requeening a hive a this early.
The Strong Hive
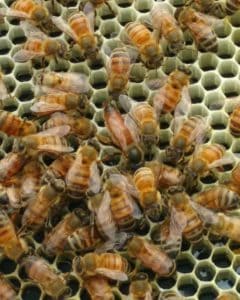
On Friday while observing my hives, I got to witness what a truly busy hive looks like. The coming and going of busy foragers was fun to watch. It is clear the workers have discovered plenty of good sources for pollen and nectar.
While observing the hive, two of my drones came out on the landing pad and took off on mating flights. Now, whether or not they returned is another question!
Little did I know, a regicide had taken place in this hive sometime in the last week!
Remember last week’s post? I found this beautiful, if small, Carniolan queen and watched her lay an egg. Well, examining the newly installed deep, the bees had already drawn enough comb on three of the empty frames for the queen to fill with eggs. And then I found her! This beautiful, large, golden blonde Italian queen!
I have to say she is much bigger than the Carniolan queen I found last week. Apparently, the newly hatched queen went on her mating flights and returned to the wrong hive and supplanted the existing queen. Who knew bees could produce such political intrigue!!
The near week of rain apparently left all of these workers with nothing to do but consume sugar water and build comb. The frame the queen is using for new egg-laying was an empty frame just Monday. Over the course of the four days of rain, the workers in this hive drew massive amounts of comb. These bees made great use of the sugar water.
“Bees… by virtue of a certain geometrical forethought, knew that the hexagon is greater than the square and the triangle and will hold more honey for the same expenditure of material.” ― Pappus, Greek Mathematical Works, Volume II: Aristarchus to Pappus
Langstroth Hive Setup
The Hive Stand
The hive stand is your first step in setting up a Langstroth hive and is one of those pesky decisions you have to make. There are many options for hive stands including metal, durable plastic, and plain old cinder blocks and plywood.
Your choices here are critical because this base is holding up the brood chambers and the significantly heavier honey supers. So, you need to think about the construction carefully and account for the load bearing capacity of the base.
Obviously, the cheapest alternative is cinder blocks and plywood. Used for well over a hundred years, this type of hive stand makes a stable base for your hives.
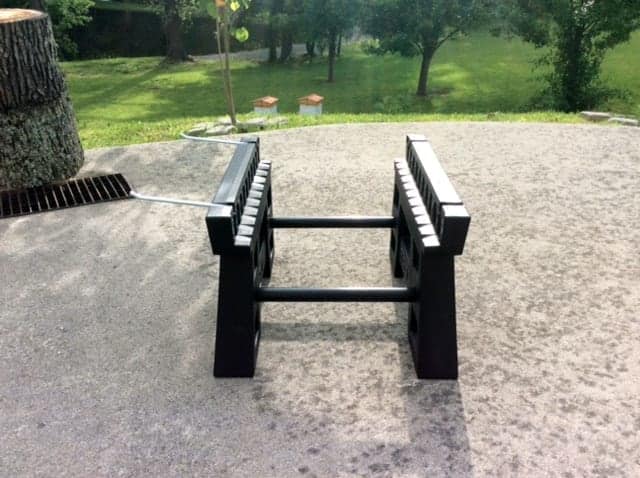
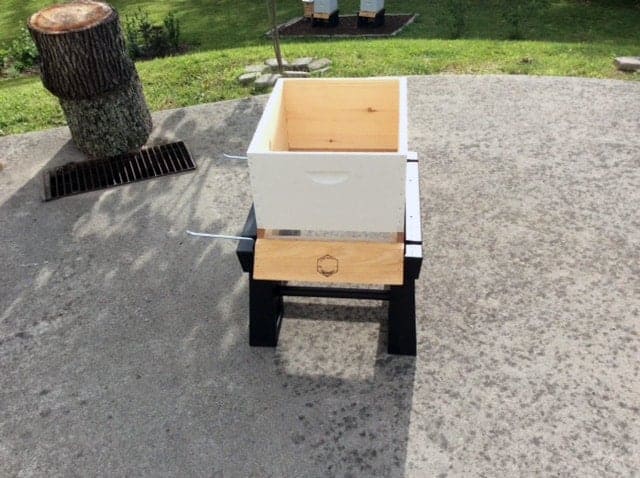
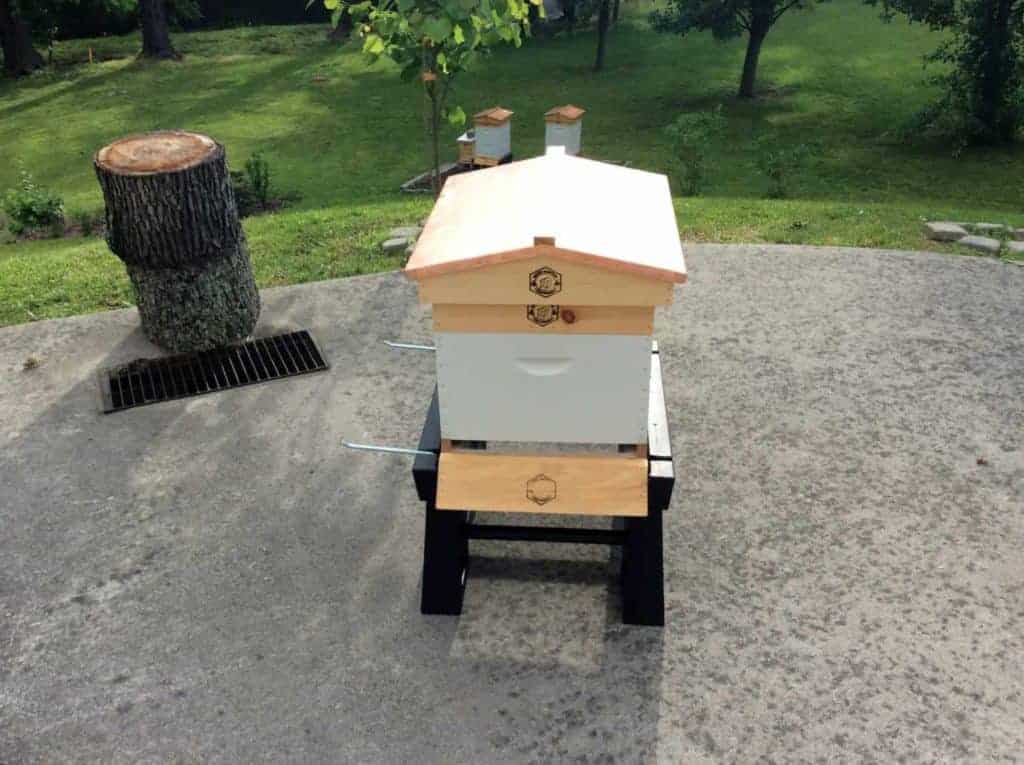
Since my hives were going to be in the backyard and right in the middle of my burgeoning flower gardens, I wanted a more aesthetically pleasing look for my stands. So again those pesky choices made their appearance! Would I go with metal hive stand or a durable hard plastic hive stand? After reviewing my options, I decided I liked the Ultimate Hive Stand.
Setting Up an Ultimate Hive Stand
If you go with this option, you have to know how to use a screwdriver! The Ultimate Hive Stand comes unassembled but even folks not in the least mechanically inclined can easily put this together.
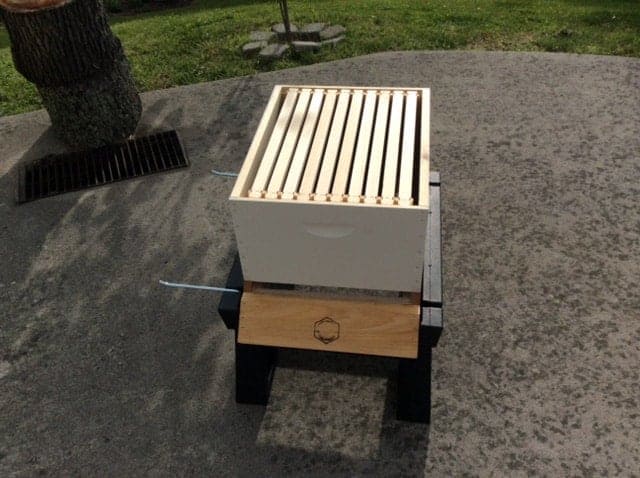
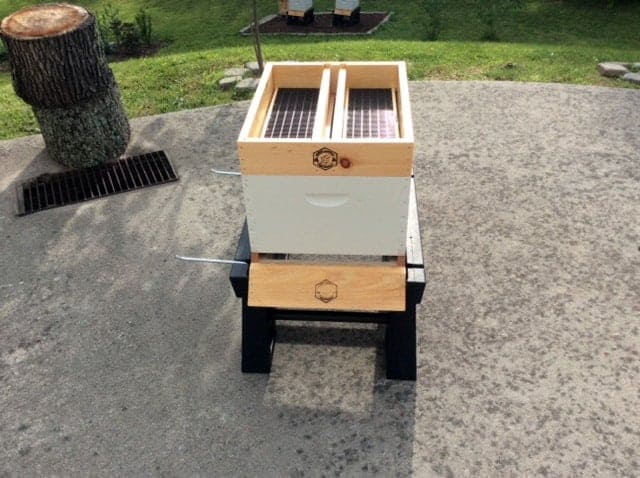
Composed of two legs and two connecting circular cross bars, fill the hive stand legs with sand for extra ballast. It also comes with two frame supports, which are really quite helpful when you need to take a frame out to work the rest of your hive.
Word to the wise – fill the two leg bases with sand before you put the frame together and you’ll be able to fill the legs with enough sand to make them sit quite solidly.
Setting the Bottom Board in Place
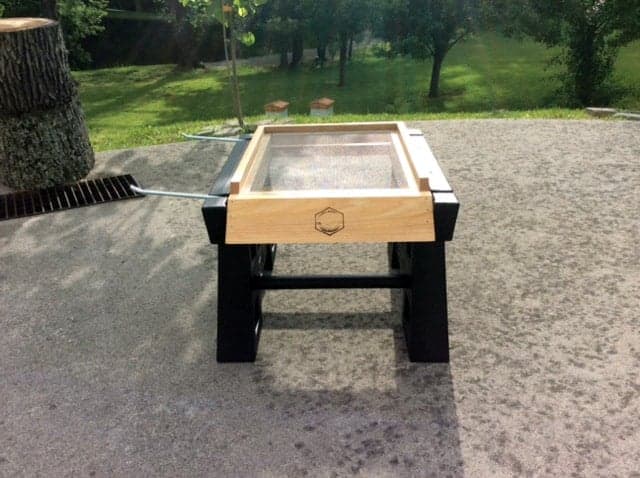
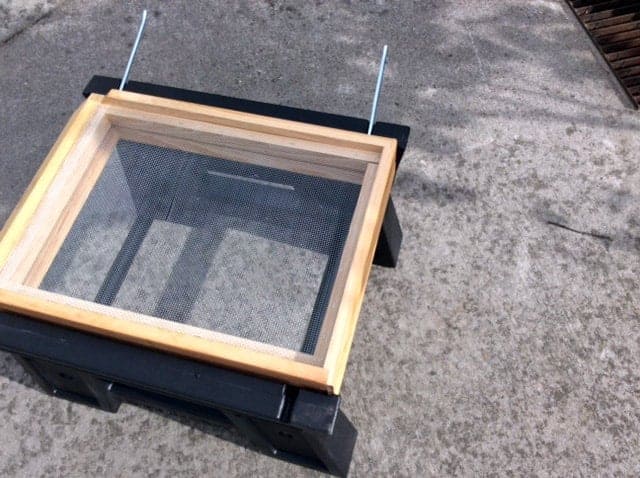
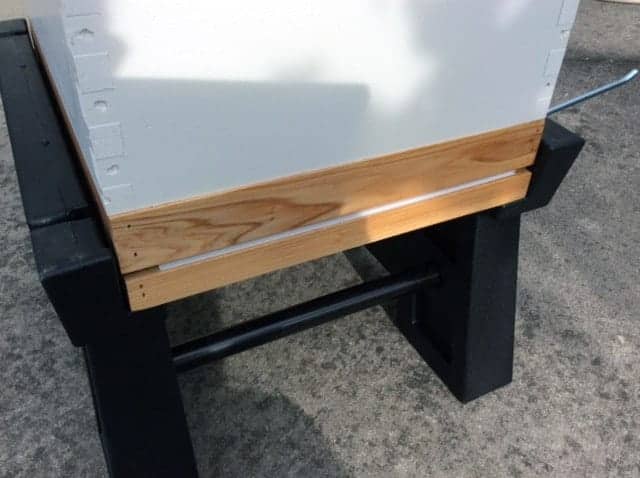
Once the hive stand is in place, you need to place the bottom board on the hive stand. Bottom boards come in many varieties from solid and screened, for better ventilation, or an integrated screened bottom board for IPM.
Center the bottom board on the stand to balance the load of the hive. If you are using the Ultimate Hive Stand, it comes with four screws used to screw the bottom board to the stand for additional stability.
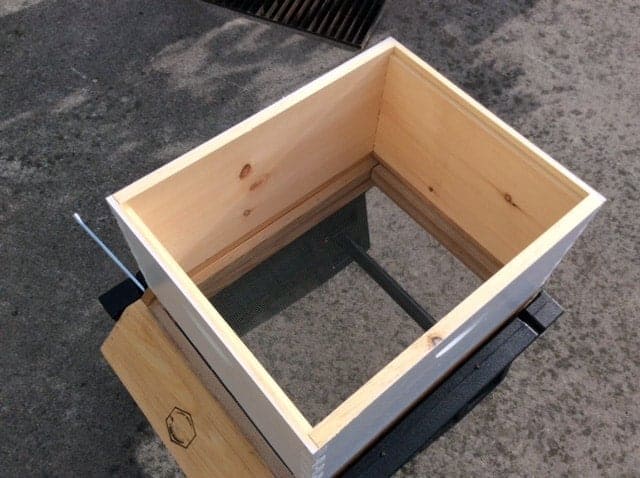
Place a Hive Box on the Hive Stand
There are two approaches that you can take to adding hive boxes to your setup. Many people start with one deep box as the base of the hive. But, frames for deeps that are full of honey are very heavy. And if, like my weaker hive, the workers are queenless, they are going to fill that deep with honey. My back knows just how heavy that is now!
An alternative option is to add medium boxes for your brood boxes. These will be lighter if you have to lift the entire box, which you will for inspections after you stack one or more boxes.
Fill the Deep with Frames
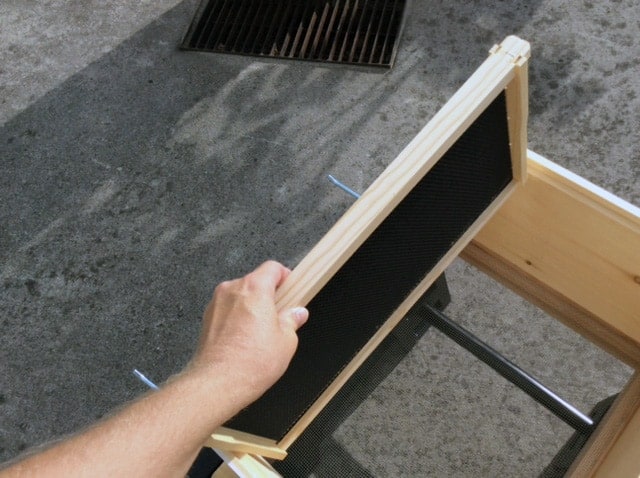
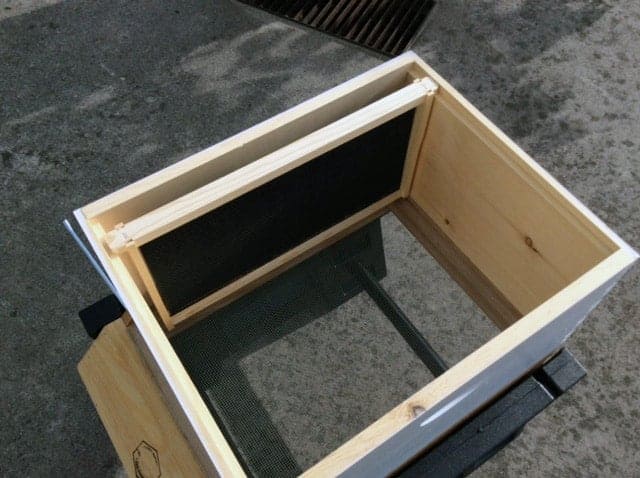
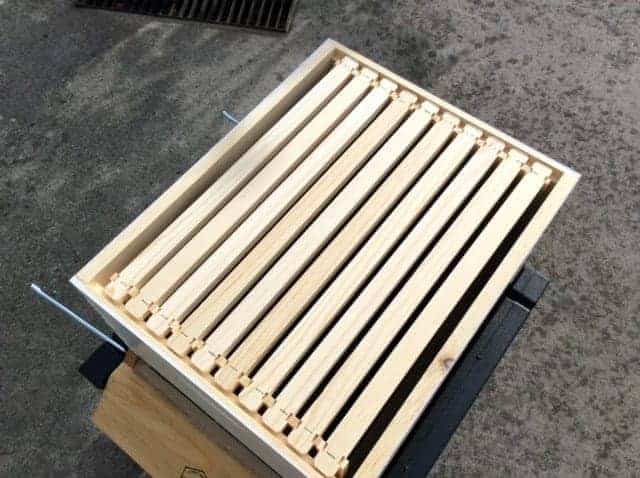
Next, you need to fill the deep box with frames. When you are positioning the frames in the box, you need to ensure that you respect bee space. If you are filling a ten-frame deep or medium box, make sure that you have the frame spacing correct or your bees will fill the extra space with burr comb.
Given enough time, you will experience a true mess when you try to do an inspection. You should also know that the frames on each end of the box will need to have space around them as well. You should leave about a thumb width space on the two outer edges of the last frames (see the pictures for proper positioning of ten frames in a deep box).
If you want to make seeing eggs in the comb easier, make sure you use the black plasticell foundation. The eggs stand out quite well against the black backdrop.
Placing a Hive Top Feeder
If you are using a feeder, and you should be with a new package or nuc of bees, you have a couple of options for feeding. You can certainly use an entrance feeder but these can be prone to increase the risk for robbing of your hive.
Another option is a pail containing a gallon or more of sugar syrup. If you use these hive feeders, you place them inside a deep box to protect from robbing behavior by other bees.
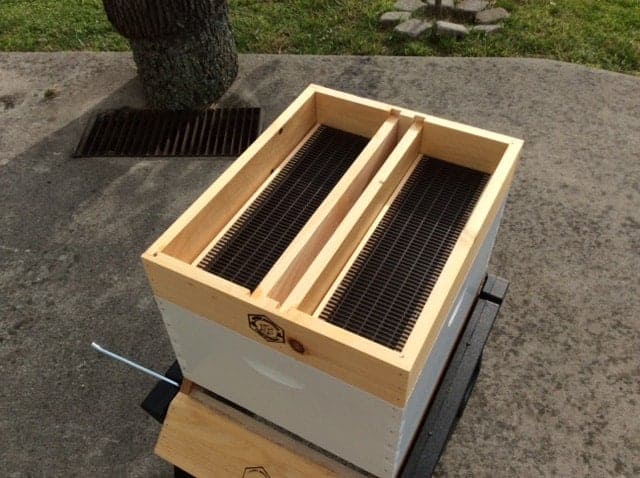
My personal preference is a hive top feeder. Placing a hive top feeder is very similar to placing a hive box. In a new hive, you will place the hive top feeder immediately on top of the deep or medium box. Your bees will access the sugar syrup through an opening in the center of the feeder.
Place the Inner Cover
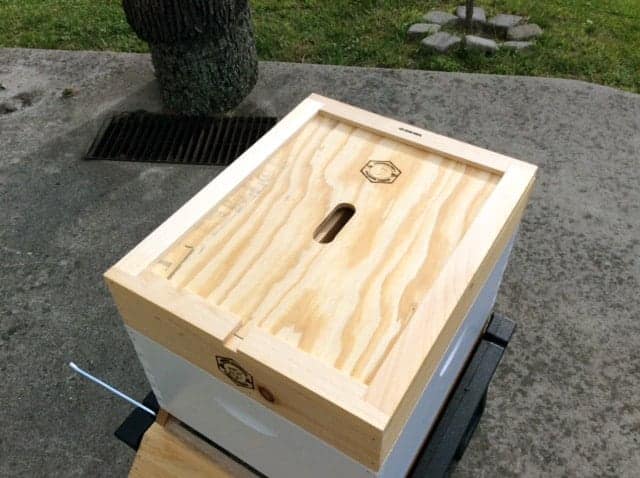
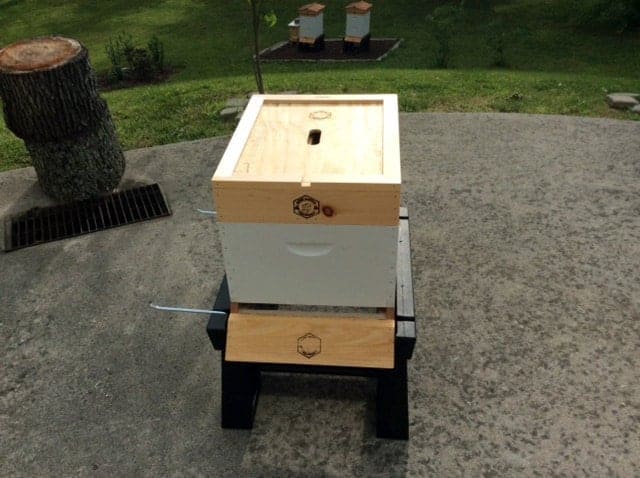
The inner cover helps protect your bees from the elements. Most inner covers have an additional upper hive entrance. When you are feeding your bees with sugar syrup, you will want to close this opening up.
Once your bees stop accepting sugar syrup, you may then open up this upper entrance as an additional entrance for your bees.
Place the Top Cover
For maximal protection for your hive, you should place a top cover over the inner cover. The extra area around the edges of the top cover help keep the elements from flowing directly into the hive body proper.
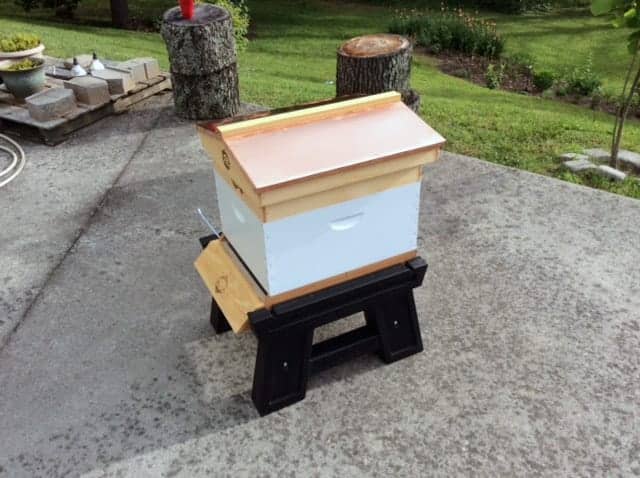
Just as with other parts of a Langstroth Hive, there are options for top covers. Whichever top cover you choose, you place the top cover atop the top board. If you are feeding with sugar syrup, push the cover to the back to close off the upper entrance. I chose a beautiful English Copper Top cover, which provides a very pleasing aesthetic to the hive.
Integrated Pest Management Board
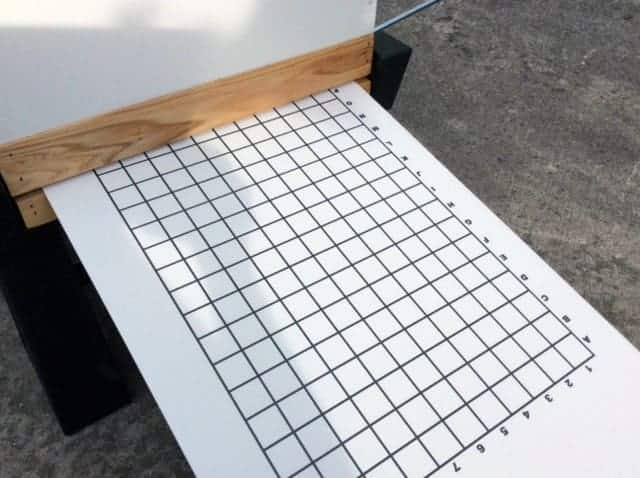
If you want to utilize the IPM Board, you should cover the grid with either Vaseline or cooking spray. Varroa mites dislodged by the bees fall through the bottom board mesh onto the sticky IPM Board.
When you use the IPM Board, you are getting an early warning sign of a potential spike in the number of varroa mites in your hive. If you want to successfully use the IPM Board, you should plan on measuring over a 24 hour period, so that you can get an accurate count of mites on the IPM Board grid.
The IPM Board should not be your only avenue for checking for varroa mites. In fact, a number of methods are available including the powdered sugar roll.
As you can see, Langstroth Hive setup is actually fairly easy. If you take your time and think through your ability to lift heavy objects, you will find this process becoming routine.
Coming Next Week
Next week, we will talk about how to install a nuc. Since I started both of my hives with five frame nucs, I will focus on this process since I haven’t installed a package of bees yet.
Until next time, happy beekeeping!

